Steps
Video: Form widget setup
- Create (or choose) a collection that should store submissions — for example Leads or Inquiries.
- Add fields matching what you want to collect (name, email, message, phone, number, URL, images).
- Add the Form widget on a Harmony page.
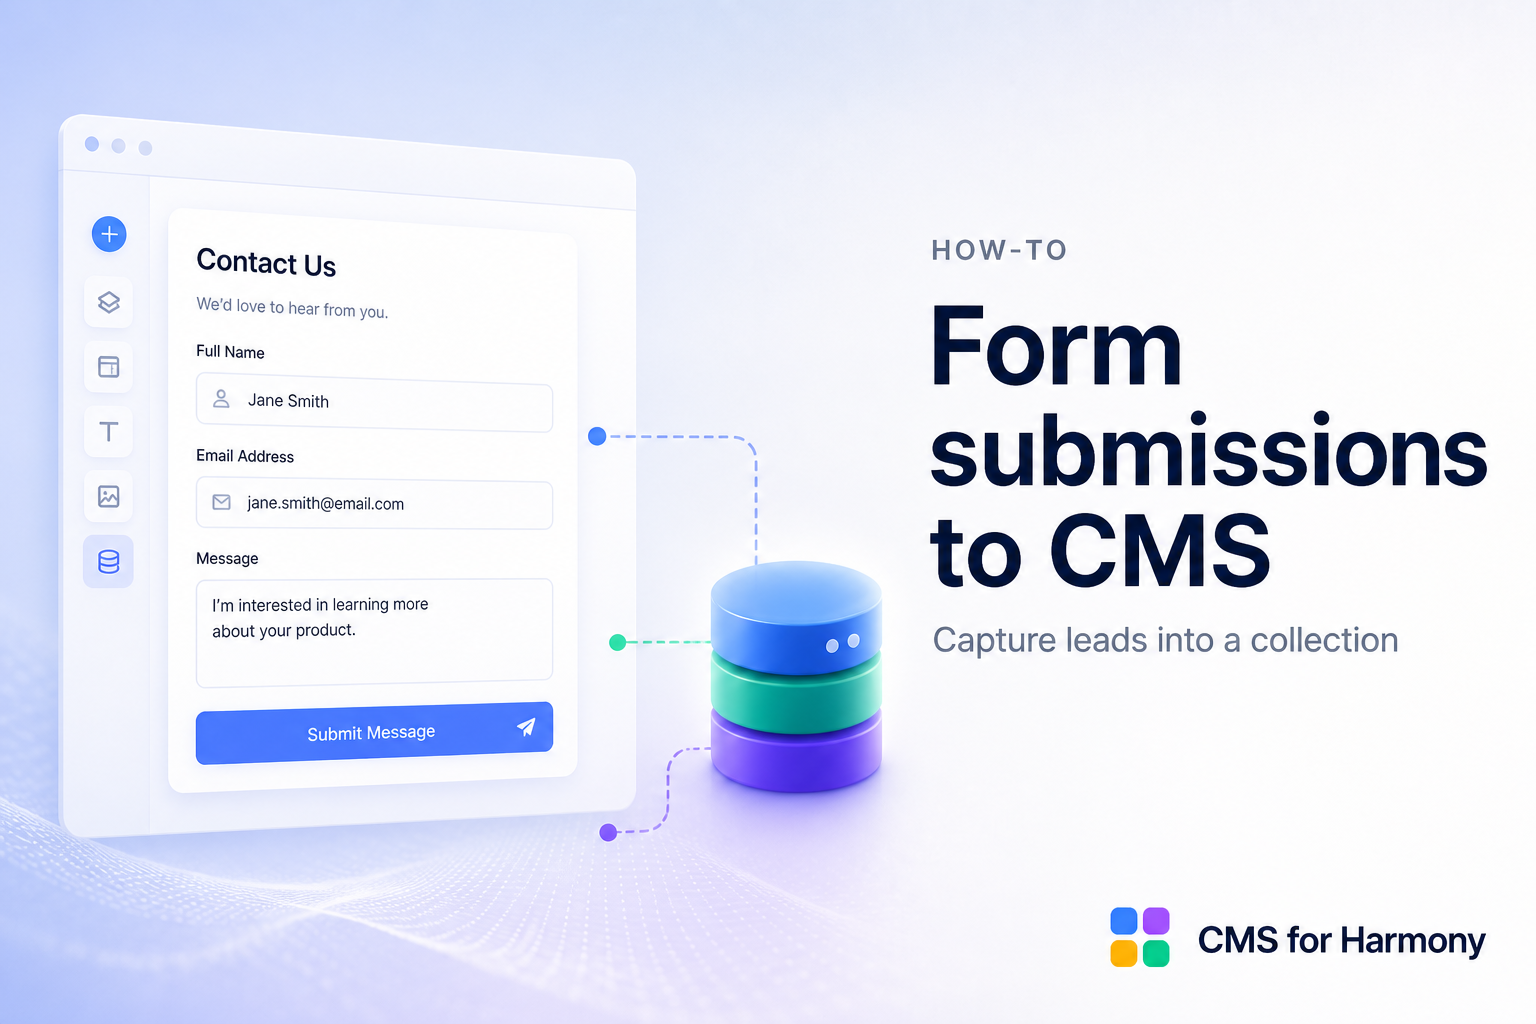
- Connect the collection and select fields/labels for the form.
- Optionally turn on Create contact and/or Create member in the Form panel (map email; use Add field (contact) / (member) for form-only fields). On Pro, optionally Assign contact labels, Assign Badges, or Add to groups.
- Under Submit, set After Submit (stay on page, or navigate to a Dynamic page URL / thank-you link). On Pro, optionally enable Spam & bot protection and Hidden fields.
- Optionally open Wix Automations and connect the CMS for Harmony Form submitted trigger.
- Include phone, Number, URL, or Media Gallery upload fields if needed.
- Publish and submit a test entry; confirm it appears in the CMS (and Contacts / Members / Automations when enabled).
- Optionally display submissions later with Table or Repeater (if appropriate for your use case).
Docs: Form · After Submit · Spam & bot protection.
Worked projects: Multi-step wedding RSVP · Form submissions → Dynamic Pages.
FAQ
Can the form go to a thank-you page?
Yes — set After Submit to Navigate to Page with a manual URL or Dynamic page URL.
Can forms block bots?
Yes on Pro — reCAPTCHA, honeypot, and rate limit.
Can forms create members with badges?
Yes — Create member plus optional Assign Badges / Add to groups on Pro.